Insertion torque is one of the most discussed variables in implant placement — and one of the most misunderstood. Clinicians talk about it constantly, but the benchmarks they use often come from rep training materials rather than clinical literature. If you are placing real volume, your insertion torque protocol deserves a sharper look.
What insertion torque actually measures
Insertion torque is not a direct measurement of osseointegration potential. It measures the resistance force between the implant surface and the bone walls during placement. That resistance is a function of bone density, the implant’s thread geometry, the drilling sequence, and the fit between the fixture and the osteotomy.
Primary stability — the mechanical interlocking of the implant in bone before any biological healing occurs — correlates with insertion torque, but is not identical to it. An implant can have moderate torque values and excellent three-dimensional stability, or high torque and micromotion problems if the bone quality is irregular. Torque is a proxy, not a verdict.
The target torque range: what the data says
The most-cited target range in the literature is 25 to 45 Ncm. Below 25 Ncm is commonly associated with compromised primary stability. Above 45 to 50 Ncm, you risk bone compression and micro-cracking at the implant-bone interface — which can paradoxically delay osseointegration in dense bone.
The 30 to 40 Ncm zone is where most practitioners want to land for immediate or early loading protocols. For conventional loading (healing caps, wait, then restore), tolerances are wider — 20 Ncm can still achieve reliable osseointegration in good bone with appropriate healing time.
How bone type changes the math
Lekholm and Zarb bone type IV — very soft, thin cortical plate with large marrow spaces — is where insertion torque drops most unpredictably. In these cases, hitting 25 Ncm requires a tighter osteotomy. That means drilling one drill size smaller than the final fixture diameter, using a condensing protocol where available, or choosing a wide-diameter fixture to engage more cortical bone.
In dense Type I bone (mandibular anterior is the common site), the risk reverses. Drilling to final size and tapping before placement will usually bring torque into range without overtightening. Skipping the tap and driving into dense bone with a tapered fixture is the fastest way to exceed 60 Ncm and cause a crestal compression problem you will not see on the day of placement.
When torque comes in low — and what to do
Low insertion torque below 20 Ncm is not automatically a failed case, but it changes your protocol:
- Do not place into immediate provisionalization. The micromotion threshold for osseointegration failure is around 150 microns; a low-stability fixture is much closer to that line.
- Consider a wider fixture diameter if bone width allows — even one step up in diameter can add 10 to 15 Ncm in soft bone.
- Place a cover screw, close the flap, and plan for conventional loading at eight to twelve weeks. Most low-torque cases integrate normally given adequate healing time.
- Document the torque value. If a pattern develops at a specific site type, adjust your drilling protocol prospectively, not reactively.
When torque is too high: a warning sign most clinicians dismiss
Excessive torque at final seating — above 50 Ncm — is a less-discussed problem. In cortical bone, over-compression generates heat and creates a zone of necrotic bone around the implant neck. That dead bone eventually resorbs, leaving early crestal bone loss that is often attributed to poor oral hygiene or poor healing rather than the placement event itself.
If you are consistently hitting 60-plus Ncm in dense mandibular sites, review your drilling sequence. Add the optional tap, verify drill speed settings, and consider whether the implant diameter is appropriate for the site. The goal is not to maximize torque — it is to hit the therapeutic window reliably.
What this means for your loading protocol
A practical torque-based loading protocol for a high-volume practice looks like this:
- Below 20 Ncm: Cover screw, conventional loading at 8–12 weeks
- 20–29 Ncm: Early loading at 6–8 weeks; no immediate provisionalization
- 30–45 Ncm: Immediate or early loading protocol based on site-specific factors
- Above 50 Ncm: Evaluate drilling sequence; consider early loading at 4–6 weeks to avoid compression-related resorption timing
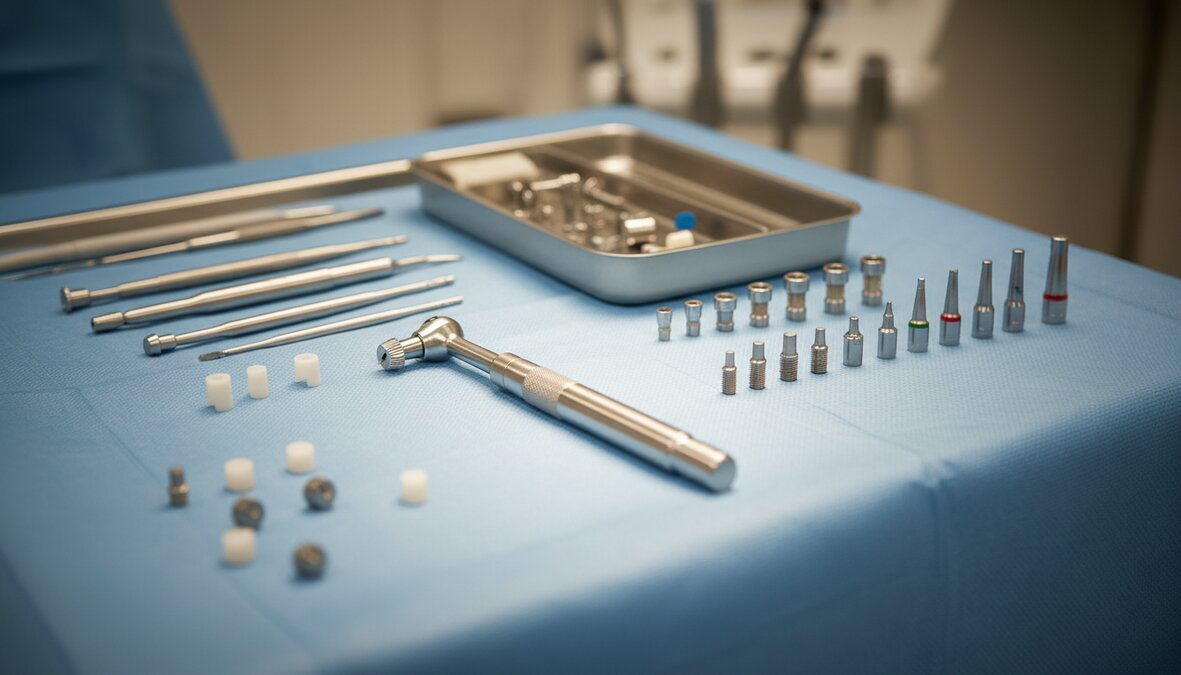
The Nexplant surgical kit was designed to make these decisions straightforward chairside. The drilling protocol is consistent across Mini, Standard, and Wide series — same torque target, same driver, same sequencing logic regardless of diameter. If you want to see the protocol documentation or talk through a specific case type, contact our clinical team.